HTML5 Web Client for Microsoft Remote Desktop services 2016 – Steps to Install RD Web Client

Finally the long awaiting client less browser based access for MS RD Web Access has been released. It is still a pre-release version and yet to released commercially. Although it is beta it is time to install and test now. MS Remote Desktop Services offer the web based portal called RD Web Access from the beginning. Although the portal provides access by the web browser you still have to connect your desktops/apps by using the desktop client called MSTSC. The many of the remote access tools have already started with their HTML5 web access clients hence it is been a long waiting for RDS users to see the HTML5 client from Microsoft. Finally it is done and it looks awesome.
The RD Web Client (Other word RD Web Access Web Client) is an add-on for the Remote Desktop Web Access role. Here are the steps how we can install and play around with the RDS Web Client in our MS Windows Server 2016.
Prerequisites
Deploy Remote Desktop Web Client
- In your RD Web Access server open Powershell with administrative access (Run as Administrator). Then go ahead with the commands one by one.
- Update the PowerShellGet module.
Install-Module -Name PowerShellGet –Force

- Restart your powershell to take this update effect.
- Run the below command which will install Remote Desktop web client management
Install-Module -Name RDWebClientManagement
- Run below command to download the latest version of Remote Desktop Web Client.
Install-RDWebClientPackage
- You may end up with some powershell errors if so don’t worry and just make a system restart and then try the step 5. It should be good now.
- You now need to configure the SSL certificate that has been used in your RD Connection Broker server. So go to your RD Connection Broker server and export your certificate as .cer.
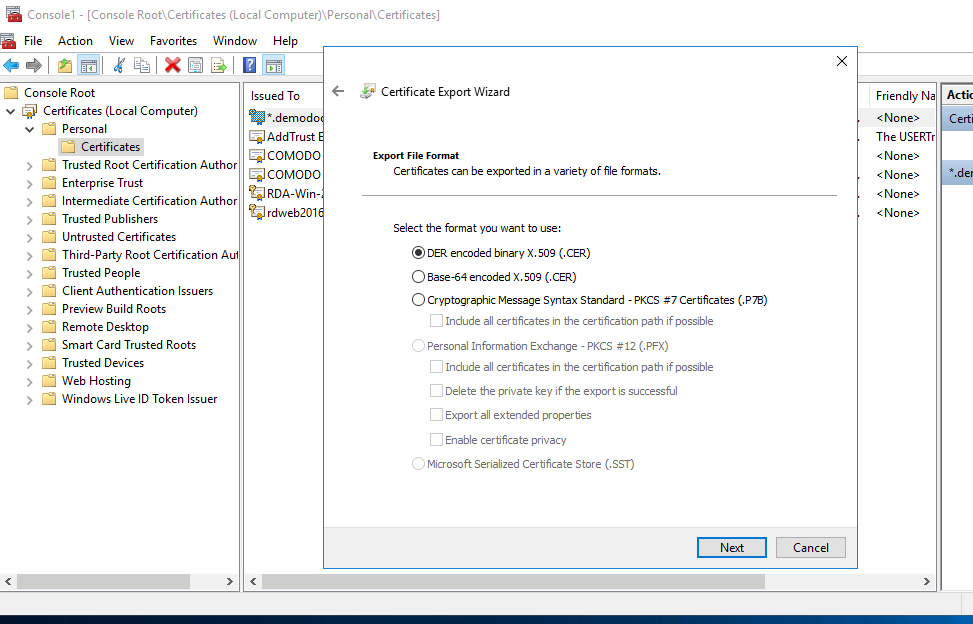
- Now copy your .CER certificate to your RD Web server and run the below command in your powershell.
Import-RDWebClientBrokerCert <.cer file path>
- Run below cmdlet to publish your Remote Desktop Web Client.
Publish-RDWebClientPackage -Type Production –Latest
We are done now.
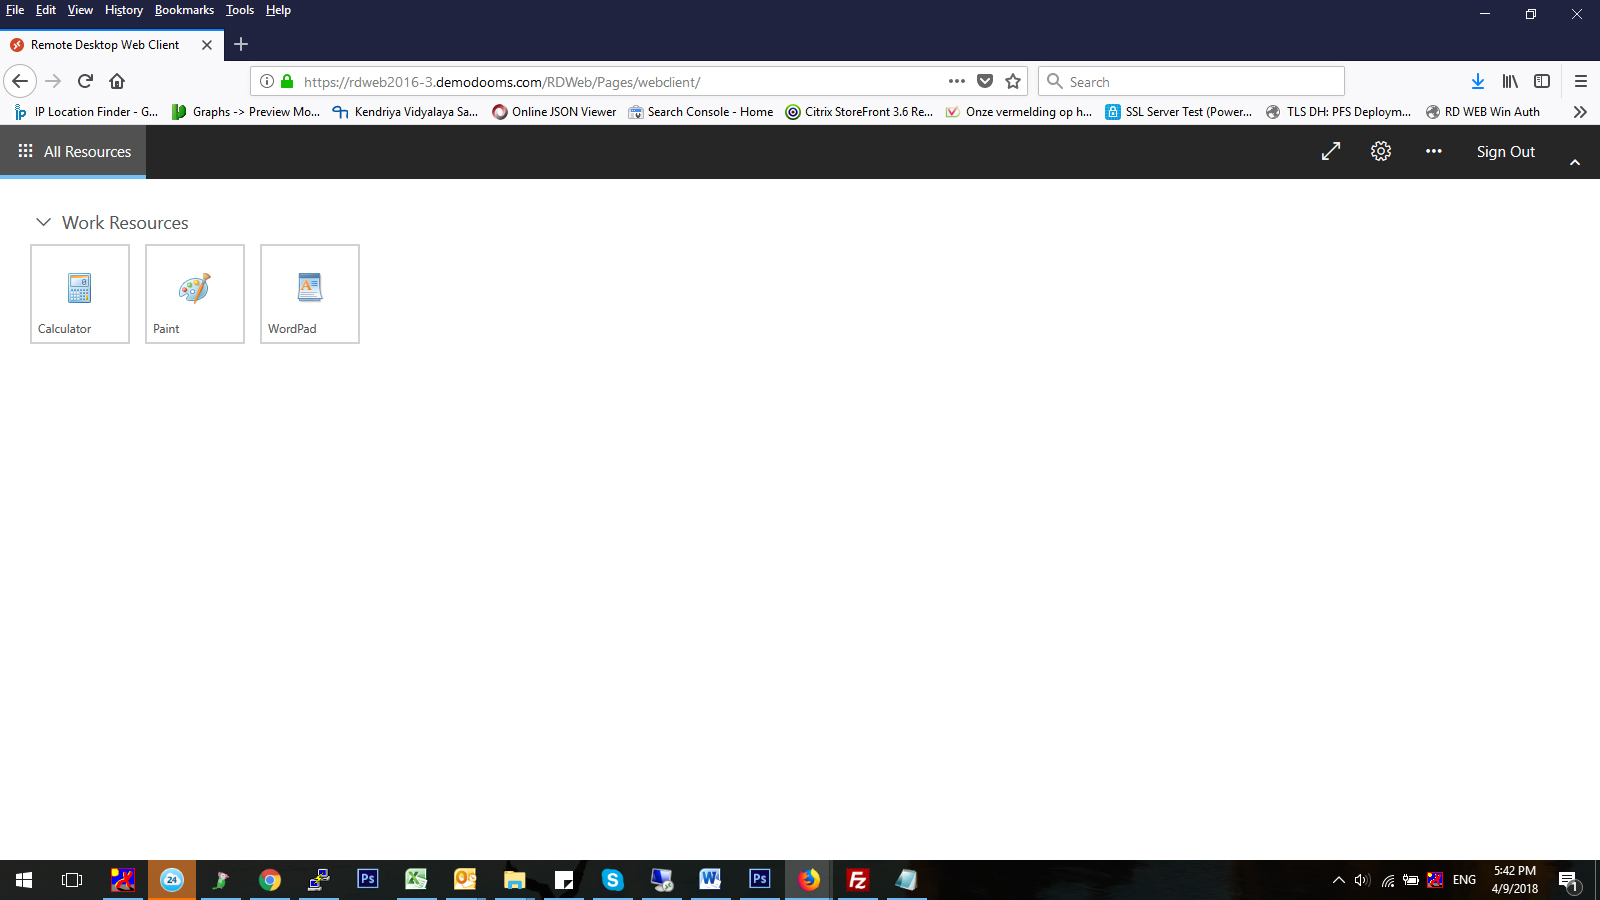
Now the RDS Web Client has been installed as an extension to your RD Web Access website. There won’t be a link from your RD Web Access portal but you can just access it using the below path. Just type ‘webclient’ after ‘/RDWeb/’ and you can see your amazing HTML5 web client for your RD Web Access. Example like the below URL.
https://yourrdwebaccess.com/RDWeb/webclient
If you want to deploy as a test you can do it with changing the type to test on the publish cmdlet.
Publish-RDWebClientPackage -Type Test –Latest
And you can access like the example URL below.
https://yourrdwebaccess.com/RDWeb/webclient-test
It should be looking like below one and works without prompting for any desktop client.
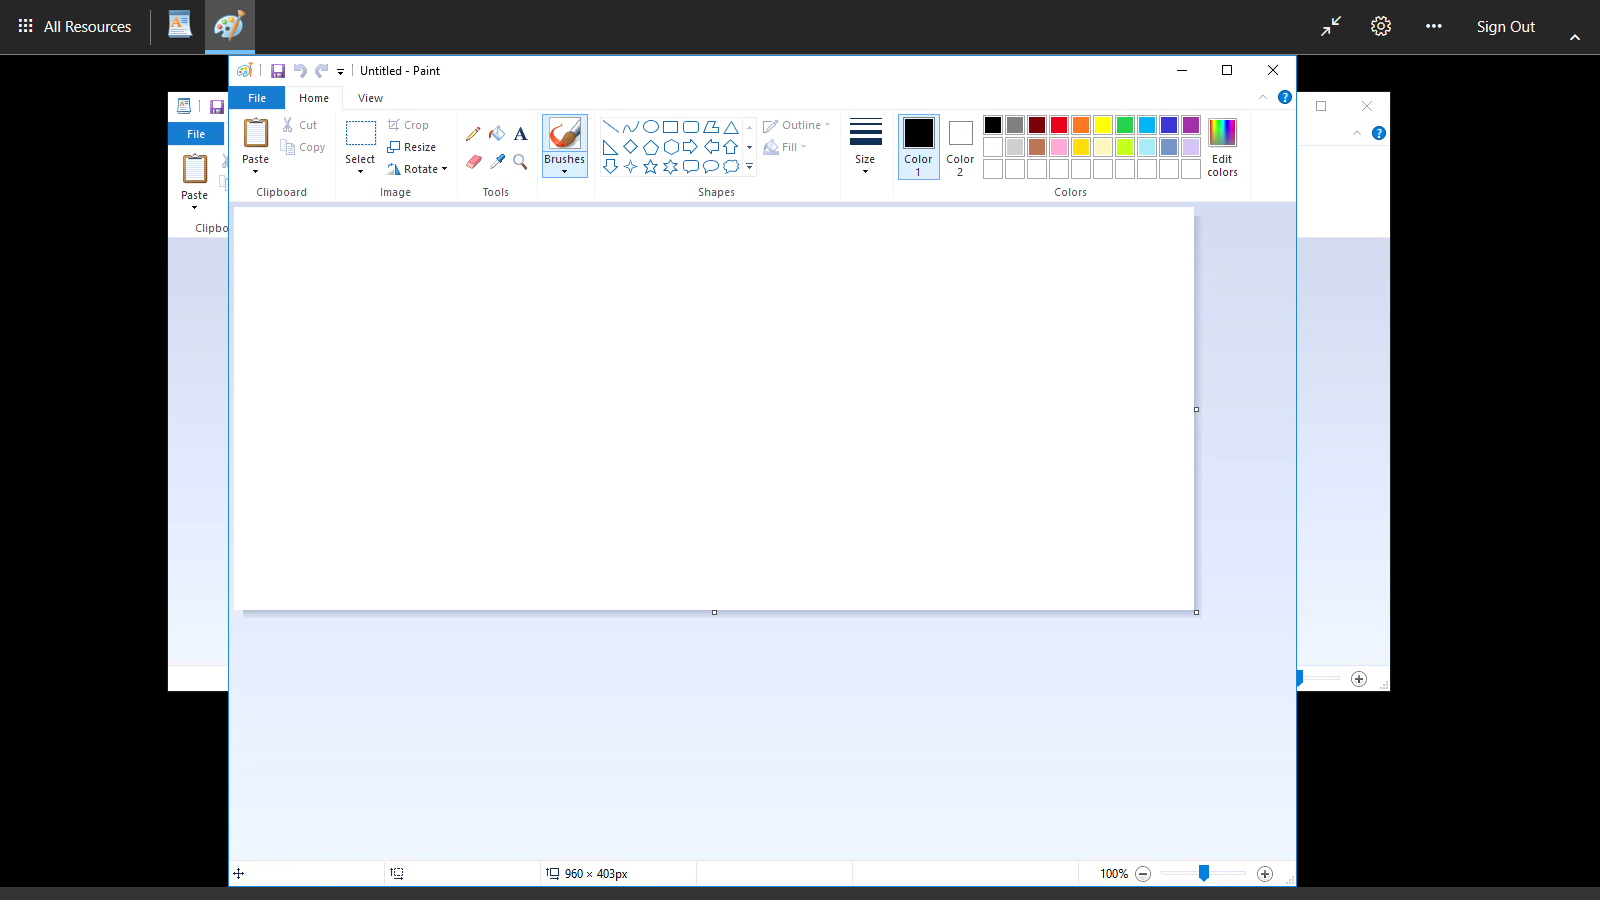
The Web Client works really cool if you have configured properly and your browser has HTML5 support. Note, most popular browsers have support with HTML5 hence no worries. If you click published Apps they are launched within the browser window with choice of full screen option. Like the image below.
Would like to read more about MS Remote Desktop customization? Click Here >>